
Understanding the Golden Rule of Skincare Layering
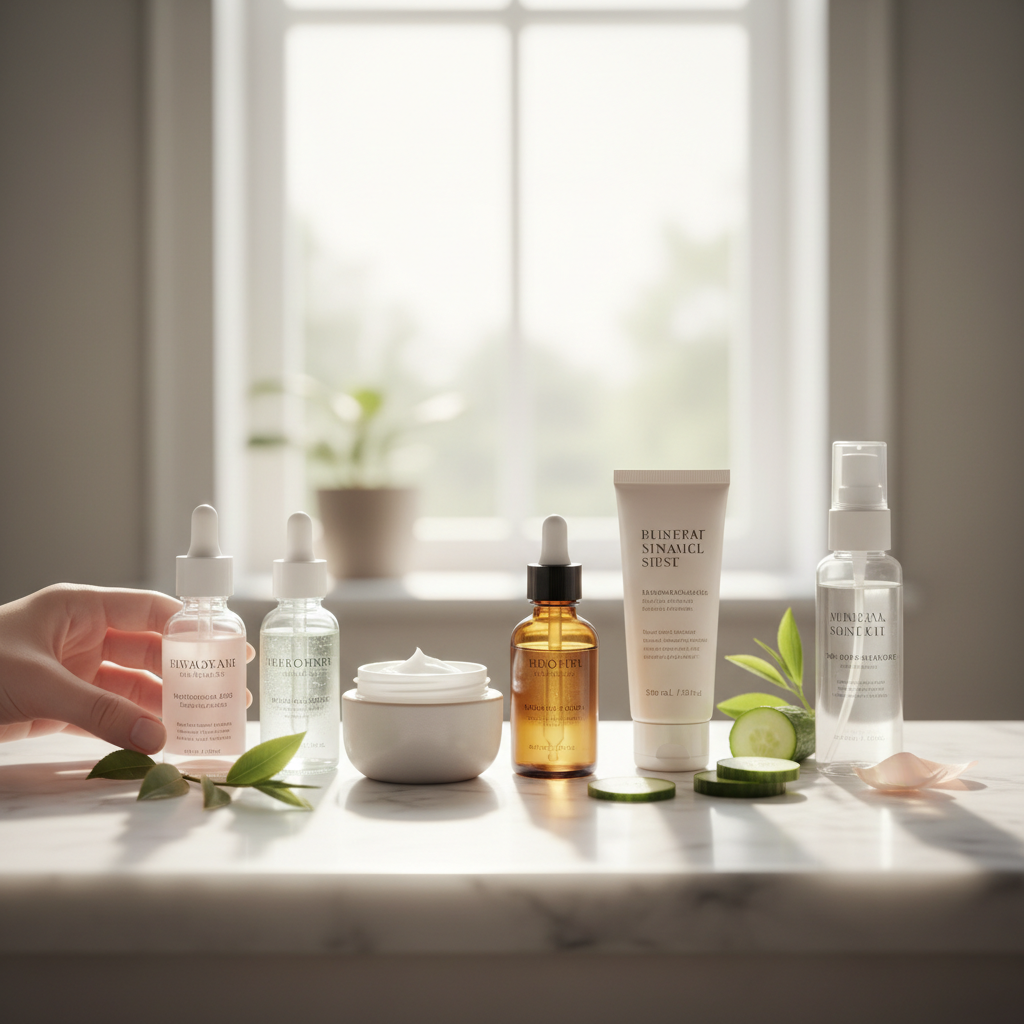
Applying skincare products in the right order is crucial for maximizing their effectiveness. The general rule is to layer from thinnest to thickest consistency. This ensures that lighter, water-based products can penetrate the skin without being blocked by heavier, oil-based formulations. Think of it like building a wall: you start with a foundation and gradually add layers that support and seal in the benefits. In this guide, we’ll walk you through each step of a complete morning and evening routine, explain why the order matters, and give you tips for customizing it to your skin type.
Step 1: Cleanse
The first step in any skincare routine is cleansing. Removing dirt, oil, makeup, and impurities prepares your skin to absorb the products that follow. In the morning, a gentle cleanser is usually sufficient to wash away overnight buildup. In the evening, you may need a double cleanse: start with an oil-based cleanser or micellar water to dissolve makeup and sunscreen, then follow with a water-based cleanser to deep clean pores. Choose a cleanser suitable for your skin type—gel cleansers for oily skin, cream cleansers for dry skin, and gentle foaming cleansers for combination skin. After cleansing, pat your skin dry with a clean towel; don’t rub, as this can cause irritation.
Step 2: Toner
Toners have evolved from astringent alcohol-laden liquids to hydrating, pH-balancing formulas. Apply toner immediately after cleansing to damp skin. This helps to restore the skin’s natural pH balance and preps it for better absorption of subsequent products. Look for alcohol-free toners with ingredients like hyaluronic acid, glycerin, or rose water. You can apply toner with your hands by gently pressing it into the skin, or with a cotton pad if you prefer a light exfoliating effect. If you use an exfoliating toner (with AHAs or BHAs), this is the step to apply it, but limit exfoliating toners to 2-3 times per week to avoid over-exfoliation.
Step 3: Essence
Essences are lightweight, watery treatments that deliver a concentrated dose of active ingredients deep into the skin. They are a staple in Korean skincare but have gained worldwide popularity. Apply essence after toner by patting it gently into your face and neck. Essences often contain fermented ingredients, niacinamide, or hyaluronic acid to boost hydration and improve skin texture. This step is optional but can be a game-changer for dry or dehydrated skin. Wait a few seconds for the essence to absorb before moving to the next step.
Step 4: Serum or Treatment
Serums are potent, targeted treatments designed to address specific skin concerns such as aging, dark spots, or acne. Because they are highly concentrated, you only need a few drops. Apply your serum while the skin is still slightly damp from the essence or toner to lock in moisture. If you use multiple serums, layer them from thinnest to thickest, and give each a moment to absorb. For example, you might apply a vitamin C serum in the morning for antioxidant protection and a retinol serum at night for anti-aging. Never mix incompatible actives like vitamin C and retinol in the same routine unless formulated together; it’s best to use one in the AM and the other in the PM.
Step 5: Eye Cream
The skin around the eyes is thinner and more delicate, so it needs special attention. Apply eye cream before your moisturizer to ensure the active ingredients are not blocked. Use your ring finger to gently tap a pea-sized amount around the orbital bone—avoid pulling or tugging the skin. Look for eye creams with peptides, caffeine, or hyaluronic acid to target puffiness, dark circles, and fine lines. If you don’t have a specific eye concern, your regular moisturizer may suffice, but dedicated eye creams are formulated to be safe for the sensitive eye area.
Step 6: Moisturizer
Moisturizer helps to hydrate and lock in all the previous layers. Even oily skin types need a moisturizer to maintain a healthy barrier. Choose a lightweight, oil-free gel moisturizer for oily skin, a lotion for normal or combination skin, and a rich cream for dry skin. Apply moisturizer in upward, outward motions, covering your face and neck. In the morning, this step creates a smooth base for makeup. In the evening, it supports the skin’s natural repair process.
Step 7: Sunscreen (Morning Routine Only)
Sunscreen is the most important step in your morning routine. It protects the skin from harmful UV rays that cause premature aging, hyperpigmentation, and skin cancer. Apply a broad-spectrum sunscreen with at least SPF 30 as the final step of your morning routine, after moisturizer and before makeup. Use about a nickel-sized amount for the face, and don’t forget your neck, ears, and any exposed areas. Reapply every two hours if you are outdoors or near windows. Chemical sunscreens should be applied directly to skin before moisturizer for optimal absorption, but many dermatologists recommend applying moisturizer first to prevent irritation; however, if you use a physical (mineral) sunscreen, it should always be the last step as it forms a protective barrier. In practice, applying moisturizer before sunscreen is widely accepted and effective if you allow each layer to absorb.
Step 8: Face Oil (Optional, Evening Routine)
Face oils are occlusives that seal in all the moisture and active ingredients. They are best used at night as the final step in your routine, especially for dry or mature skin. Apply a few drops of oil and press it gently into the skin. Oils can penetrate moisturizers, so applying oil after moisturizer is ideal to lock everything in. Wait a few minutes before going to bed to avoid transferring product to your pillow. If you have oily or acne-prone skin, choose non-comedogenic oils like squalane or rosehip seed oil, or skip this step altogether.
Adjusting for Your Skin Type and Concerns
While the general order remains consistent, you can tailor the steps based on your skin’s needs. For oily skin, focus on lightweight, oil-free formulations and don’t skip moisturizer. For dry skin, add a hydrating toner, essence, and a rich moisturizer. Sensitive skin types should avoid fragrances and harsh exfoliants, and always patch-test new products. If you’re short on time, a minimalist routine of cleanse, moisturize, and sunscreen (AM) or cleanse and moisturize (PM) is better than nothing. Remember, consistency is key—results take time, so stick with your routine for at least a few weeks before expecting visible changes.
Common Mistakes to Avoid
Avoid applying products too quickly; allow each layer to absorb for about 30-60 seconds. Don’t mix certain active ingredients like retinol and AHA/BHAs in the same routine to prevent irritation. Over-exfoliation can damage the skin barrier, so limit exfoliation to 2-3 times a week. Lastly, don’t forget your neck and hands—they show aging just as much as your face.
By following this correct layering order, you’ll maximize the efficacy of your skincare products and achieve healthier, glowing skin. Happy layering!