
Learning how to layer hyaluronic acid and retinol can change your skin. These two ingredients work even better together. Hyaluronic acid pulls water into your skin. Retinol speeds up cell turnover. When you combine them the right way, you get hydration plus anti-aging power. This guide will show you exactly how to do it. No confusing terms. Just clear steps that work.
Many people feel lost when they start using skincare actives. You might worry about irritation or wonder if you are doing it wrong. This tutorial will answer all your questions. You will learn the correct order, the best waiting times, and how to avoid common mistakes. By the end, you will have a routine you can follow every night with confidence.
Why You Should Layer Hyaluronic Acid and Retinol for Healthy, Glowing Skin
Your skin needs both water and renewal to look its best. Hyaluronic acid gives you the water. Retinol gives you the renewal. Layering them properly means you get both benefits without the dryness that retinol can sometimes cause. This combination is popular for a reason. It tackles multiple skin concerns at once. Fine lines, dullness, uneven texture, and dehydration all improve when you learn how to layer hyaluronic acid and retinol correctly.
Understanding Hyaluronic Acid: The Hydration Powerhouse
Hyaluronic acid is a molecule your body already makes. It holds up to 1000 times its weight in water. Think of it as a big drink for your skin cells. When you apply it topically, it pulls moisture from the air into your skin. This makes your face look plump and smooth. Fine lines seem to disappear because the skin is so hydrated. Hyaluronic acid does not exfoliate or irritate. It simply hydrates. That makes it safe for all skin types, even sensitive or acne-prone skin.
Understanding Retinol: The Anti-Aging and Acne-Fighting Pro
Retinol is a form of vitamin A. It tells your skin cells to turn over faster. Old, dead cells shed more quickly. New, fresh cells come to the surface. This process smooths rough texture and fades dark spots over time. Retinol also helps unclog pores, which reduces acne. The downside is that retinol can be drying and irritating, especially at first. That is why layering hyaluronic acid and retinol together makes so much sense. The hyaluronic acid helps balance the drying effects of retinol.
Key Benefits of Combining HA and Retinol in Your Layering Routine
When you layer hyaluronic acid and retinol, you create a balanced routine. You get the anti-aging power of retinol without the flaky dryness. Your skin stays comfortable and calm. Hydration levels stay high. The hyaluronic acid acts as a buffer, reducing the chance of irritation. You also see faster results because hydrated skin responds better to active ingredients. This pairing is one of the smartest moves you can make in your nighttime skincare routine.
The Exact Order to Layer Hyaluronic Acid and Retinol
The order of your products matters a lot. Apply them in the wrong sequence and you might reduce their effectiveness or cause unnecessary irritation. Here is the proven, dermatologist-backed order for how to layer hyaluronic acid and retinol. Follow these steps every night for the best results.
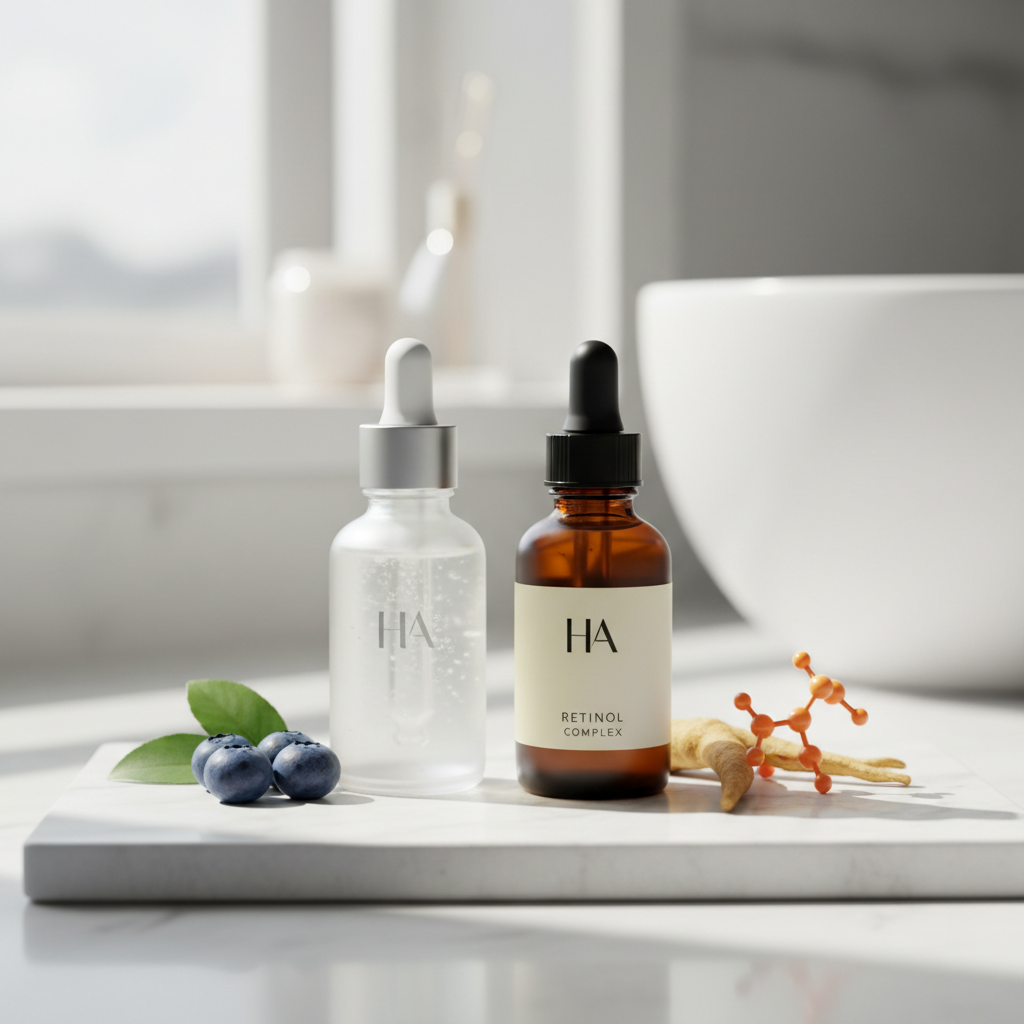
Before you start, gather your tools and materials. You will need a gentle cleanser, a hyaluronic acid serum, a retinol serum or cream, a nourishing moisturizer, and a clean towel. Make sure your hands are clean. Choose a well-lit spot in your bathroom or bedroom. Having everything ready makes the process smooth and quick.
Step 1: Start with a Gentle Cleanser
Wash your face with a mild, non-foaming cleanser. Avoid anything with strong acids or scrubbing beads. You want clean skin without stripping its natural oils. Use lukewarm water. Hot water can dry out your skin and make retinol irritation worse. Pat your face with a clean towel. Do not rub. Your skin should feel clean but not tight. This step removes dirt, oil, and makeup so the active ingredients can penetrate properly.
Step 2: Apply Hyaluronic Acid to Damp Skin
This step is crucial. Your skin must be slightly damp when you apply hyaluronic acid. Hyaluronic acid needs water to work. If you put it on dry skin, it can actually pull moisture out of your skin instead of pushing it in. After cleansing, do not wait for your face to air dry completely. Take a few drops of your hyaluronic acid serum. Press it gently into your skin with your palms. Cover your entire face and neck. The dampness helps the hyaluronic acid bind to water and deliver deep hydration.
Step 3: Wait for Your Skin to Absorb and Dry Completely
Now you must be patient. Wait until your skin feels dry to the touch. This usually takes about 2 to 5 minutes. This waiting period is important for two reasons. First, it lets the hyaluronic acid fully absorb. Second, applying retinol to damp skin increases irritation. Wet skin absorbs retinol too quickly. That leads to redness and peeling. Use this time to brush your teeth or apply body lotion. When your face feels smooth and dry, you are ready for the next step.
Step 4: Apply Retinol Evenly
Take a pea-sized amount of your retinol product. Dot it on your forehead, cheeks, chin, and nose. Then spread it evenly across your face. Avoid the corners of your eyes, the sides of your nose, and the corners of your mouth. These areas are more sensitive. Do not apply retinol to your eyelids. Let the product sit on your skin. You do not need to rub it in aggressively. A thin, even layer is all you need. More retinol does not mean faster results. It only means more irritation.
Step 5: Finish with a Nourishing Moisturizer to Lock It In
Seal everything with a rich moisturizer. This locks in the hyaluronic acid and creates a protective barrier over the retinol. Choose a moisturizer with ingredients like ceramides, peptides, or squalane. These support your skin barrier while you sleep. Apply a generous layer over your entire face and neck. The moisturizer prevents overnight water loss. You will wake up with soft, hydrated, and calm skin. This final step completes the perfect routine for how to layer hyaluronic acid and retinol.
The “Sandwich Method” to Layer Hyaluronic Acid and Retinol for Sensitive Skin
If your skin gets red or stings easily, the standard method might feel too strong at first. There is a gentler way to layer hyaluronic acid and retinol. It is called the sandwich method. This technique adds an extra layer of protection. It helps beginners and sensitive skin types build tolerance slowly.
What is the Retinol Sandwich Technique?
The sandwich method places moisturizer both under and over your retinol. Think of it like this: moisturizer is the bread, retinol is the filling. The bottom layer of moisturizer creates a buffer. It slows down how fast the retinol absorbs. This reduces irritation significantly. The top layer of moisturizer seals everything in. Your skin still gets the retinol benefits, just at a slower, gentler pace. Many dermatologists recommend this technique for anyone starting their retinol journey.
Step-by-Step Sandwich Layering Method for Beginners
- Cleanse your face with a gentle cleanser and pat dry.
- Apply your hyaluronic acid serum to damp skin. Wait until dry.
- Apply a thin layer of basic moisturizer. Let it absorb for 1 minute.
- Apply your retinol product in a thin, even layer.
- Wait 2 to 3 minutes for the retinol to settle.
- Apply a second layer of moisturizer to seal everything in.
This method is the safest way to layer hyaluronic acid and retinol when you are new to retinol. Start with this approach and switch to the standard method once your skin adapts.
When to Stick with the Standard Hyaluronic Acid and Retinol Layer Order
After 4 to 6 weeks of using the sandwich method, your skin will likely build enough tolerance. You can then try the standard order without the first moisturizer layer. Watch how your skin reacts. If you notice no redness or stinging, you are ready for the regular routine. If irritation returns, go back to the sandwich method for a few more weeks. There is no rush. Slow and steady wins the skincare race.
How to Layer Hyaluronic Acid and Retinol Based on Your Skin Type
Your skin type affects how you should approach layering hyaluronic acid and retinol. Dry skin needs extra care. Oily skin needs lighter textures. Sensitive skin needs more buffering. Here are the best modifications for each skin type.
Best Layering Approach for Dry and Dehydrated Skin
Dry skin loses water quickly. You need to trap as much hydration as possible. After cleansing, apply hyaluronic acid to very damp skin. You can even mist your face with water before applying it. After retinol, use a thick moisturizer with shea butter or ceramides. Consider adding a facial oil as the very last step. This seals in all the moisture overnight. The sandwich method works especially well for dry skin because it adds an extra hydration layer.
Layering Hyaluronic Acid and Retinol for Oily and Acne-Prone Skin
Oily skin still needs hydration. Skipping moisturizer can make oil production worse. Use a lightweight, gel-based hyaluronic acid serum. Apply it to damp skin as usual. For retinol, choose a gel or light lotion formula rather than a heavy cream. Finish with an oil-free, non-comedogenic moisturizer. These products will not clog your pores. The standard layering order usually works well for oily skin because fewer layers mean less chance of pore congestion.
Modifications for Sensitive and Reactive Skin Types
Sensitive skin needs the most careful approach. Always use the sandwich method. Choose fragrance-free products. Look for hyaluronic acid serums with minimal ingredients. Avoid retinol formulas with added essential oils or alcohols. Start with a very low retinol concentration, around 0.1% or 0.2%. Apply retinol only twice a week for the first month. Listen to your skin. If stinging occurs, take a break and focus on hydration and barrier repair before trying again.
Common Mistakes to Avoid When You Layer Hyaluronic Acid and Retinol
Even with the best intentions, mistakes happen. These errors can make your skin dry, red, or irritated. Avoid these common pitfalls to get the most out of your routine for how to layer hyaluronic acid and retinol.
Applying Retinol to Damp Skin
This is the number one mistake. Wet skin absorbs retinol too fast. The result is redness, peeling, and a damaged skin barrier. Always wait until your hyaluronic acid layer is completely dry. Touch your face with clean fingers. If it feels tacky or wet, wait longer. Only apply retinol when your skin feels smooth and dry. This simple rule can save you weeks of irritation.
Not Waiting Enough Time Between Layering Steps
Impatience leads to problems. Each layer needs time to settle. Rushing from hyaluronic acid to retinol traps moisture and increases penetration too much. Rushing from retinol to moisturizer can dilute the retinol unevenly. Give each step at least 2 minutes. Use a timer if you need to. Your skin will thank you with better results and less irritation.
Using Incompatible Actives in the Same Routine
Do not mix retinol with alpha hydroxy acids or beta hydroxy acids in the same evening. These exfoliating acids increase skin sensitivity. Combining them with retinol is a recipe for a damaged barrier. Also avoid benzoyl peroxide at night when you use retinol. Keep your evening routine simple. Hyaluronic acid and retinol are enough. Save other actives for your morning routine or alternate nights.
Skipping Sunscreen the Next Day After Retinol Use
Retinol makes your skin more sensitive to the sun. New skin cells are delicate and prone to UV damage. If you skip sunscreen, you undo all the good work from your nighttime routine. Dark spots can get darker. Wrinkles can deepen. Apply a broad-spectrum SPF 30 or higher every single morning. No exceptions. This is the most important step in any skincare routine that includes retinol.
Expert Tips for Layering Hyaluronic Acid and Retinol with Other Skincare Ingredients
Once you master the basic routine, you might want to add other ingredients. Some pair well. Others should be avoided. Here is what you need to know about combining popular actives with your layering hyaluronic acid and retinol routine.
Can You Layer Niacinamide with Hyaluronic Acid and Retinol?
Yes. Niacinamide pairs beautifully with both hyaluronic acid and retinol. It strengthens the skin barrier and reduces inflammation. Apply niacinamide after your hyaluronic acid and before your retinol. Wait for each layer to dry. Niacinamide can actually help your skin tolerate retinol better. This trio is a powerhouse for clear, even, and hydrated skin.
How to Incorporate Vitamin C into Your Morning Layering Routine
Keep vitamin C in your morning routine. It fights free radicals and boosts sunscreen protection. Apply vitamin C serum after cleansing in the morning. Follow it with hyaluronic acid if you like, then moisturizer and sunscreen. At night, stick to your retinol routine. This separation gives you the best of both worlds without overwhelming your skin. Morning is for protection. Night is for repair.
What to Avoid: BHAs, AHAs, and Benzoyl Peroxide with Retinol
Salicylic acid (BHA), glycolic acid (AHA), and benzoyl peroxide should not be used in the same routine as retinol. These ingredients all exfoliate or dry out the skin. Layering them together causes excessive irritation. If you want to use both, alternate nights. Use your BHA or AHA on Monday, then your retinol routine on Tuesday. This gives your skin time to recover between active treatments.
Frequently Asked Questions About How to Layer Hyaluronic Acid and Retinol
Can I Apply Hyaluronic Acid After Retinol Instead of Before?
It is better to apply hyaluronic acid before retinol. Hyaluronic acid needs direct contact with damp skin to work properly. If you put it on top of retinol, it cannot pull water in as effectively. The retinol also creates a barrier that blocks absorption. Stick to the order of hyaluronic acid first, then retinol. This sequence maximizes the benefits of both ingredients.
How Long Should I Wait Between Hyaluronic Acid and Retinol Layers?
Wait until your skin feels completely dry. This usually takes 2 to 5 minutes. The exact time depends on how much product you applied and the humidity in your room. Do not just count seconds. Touch your skin gently. If it feels cool or damp, wait longer. If it feels smooth and dry, you can apply retinol. This waiting step prevents unnecessary irritation.
How Often Should a Beginner Layer HA and Retinol?
Start with twice a week. Pick two non-consecutive nights, like Monday and Thursday. Do this for two weeks. If your skin feels fine, increase to three nights a week for the next two weeks. Gradually work up to every other night. Some people can eventually use retinol nightly. Others do best with 4 to 5 nights per week. There is no universal rule. Listen to your skin and adjust based on how it feels.
Do I Still Need a Moisturizer If I Layer Hyaluronic Acid and Retinol?
Yes, absolutely. Hyaluronic acid is a humectant. It pulls water in but does not seal it there. Without a moisturizer on top, that water can evaporate into the air. This process is called transepidermal water loss. Your skin ends up drier than before. Moisturizer locks the hydration in place. It also supports your skin barrier while you sleep. Never skip the final moisturizer step.
The Best Products to Optimize Your How to Layer Hyaluronic Acid and Retinol Routine
Choosing the right products makes layering hyaluronic acid and retinol easier and more effective. Here are top picks recommended by skincare experts for each step of your routine.
Top Dermatologist-Recommended Hyaluronic Acid Serums for Layering
| Product Type | Key Features | Best For |
|---|---|---|
| Lightweight HA Serum | Fast-absorbing, water-based formula | Oily and combination skin |
| Multi-Molecular HA Serum | Contains different sizes of HA molecules for deeper hydration | Dry and dehydrated skin |
| Minimal-Ingredient HA Serum | Fragrance-free with few additives | Sensitive and reactive skin |
| HA Serum with Panthenol | Added soothing and barrier-support ingredients | Compromised or irritated skin |
Best Beginner-Friendly Retinol Serums
| Product Type | Key Features | Best For |
|---|---|---|
| Low-Strength Retinol (0.1%-0.3%) | Gentle introduction with minimal irritation risk | First-time retinol users |
| Encapsulated Retinol | Slow-release technology for less irritation | Sensitive skin beginners |
| Retinol with Soothing Ingredients | Formula includes niacinamide or ceramides | Dry or easily irritated skin |
| Retinol Gel Formula | Lightweight, non-greasy texture | Oily and acne-prone skin |
Moisturizers That Seal in Maximum Hydration After Layering
| Product Type | Key Features | Best For |
|---|---|---|
| Ceramide-Rich Cream | Repairs and strengthens the skin barrier overnight | Dry and compromised skin |
| Lightweight Gel Moisturizer | Hydrates without clogging pores | Oily and acne-prone skin |
| Squalane-Based Moisturizer | Mimics natural skin oils, absorbs quickly | All skin types |
| Fragrance-Free Barrier Cream | Minimal ingredients for maximum tolerance | Sensitive and reactive skin |
Final Verdict
Layering hyaluronic acid and retinol requires attention to timing and texture. Apply HA to damp skin first for maximum absorption, wait for it to dry, then apply retinol. Those new to retinoids should start with HA alone for a few weeks before introducing retinol twice weekly.
Related Articles
- Vanicream Gentle Facial Cleanser Review
- Hyaluronic Acid vs Glycerin: Which Humectant Is Better
- 6 Best Retinol Serums for Beginners That Actually Work
Build Your Long-Term How to Layer Hyaluronic Acid and Retinol Routine
Your skin needs time to adjust to retinol. Rushing in leads to irritation and frustration. Follow this gradual plan to build a sustainable routine. Each phase prepares your skin for the next level. By the end, you will have a nightly habit that keeps your skin healthy and glowing for years.
Weeks 1-2: Introduction Phase for Sensitive Skin
Use retinol only two nights per week. Space these nights apart, such as Monday and Thursday. Always use the sandwich method. Apply hyaluronic acid, then a light moisturizer, then retinol, then another layer of moisturizer. On non-retinol nights, focus purely on hydration. Use hyaluronic acid and moisturizer without any actives. Watch your skin closely. Mild tingling is normal. Stinging or persistent redness means you should slow down. Your goal in this phase is simple: introduce retinol without damaging your barrier.
Weeks 3-4: Increasing Frequency of Retinol Layering
If your skin feels comfortable, increase to three nights per week. You can try every other night if your skin tolerates it well. You may switch from the sandwich method to the standard layering order during this phase. Test it on one night first. If irritation returns, go back to the sandwich method for another week. Continue hydrating intensely on off nights. Your skin should start looking smoother and more even by the end of week four. This is a sign that your routine for how to layer hyaluronic acid and retinol is working.
Maintenance: How to Layer Hyaluronic Acid and Retinol Daily
After a month or two, many people can use retinol 4 to 6 nights per week. Some can use it every night. Find your personal sweet spot. Your maintenance routine stays simple. Cleanse, apply hyaluronic acid to damp skin, wait, apply retinol, and seal with moisturizer. Consistency matters more than frequency. Using retinol 4 nights a week forever gives better results than using it every night for a month and then quitting. Stick with your routine. Protect your skin with sunscreen every morning. Your future self will thank you for the healthy, glowing, and resilient skin you built through careful layering.
Now you know exactly how to layer hyaluronic acid and retinol the right way. The steps are clear. The mistakes are avoidable. The long-term plan is set. Gather your products tonight. Start slow. Be patient. Your skin will reward your consistency with a smooth, hydrated, and youthful glow that lasts.